Cleaner choice starts with the floor
Do not treat every coated garage floor as the same surface
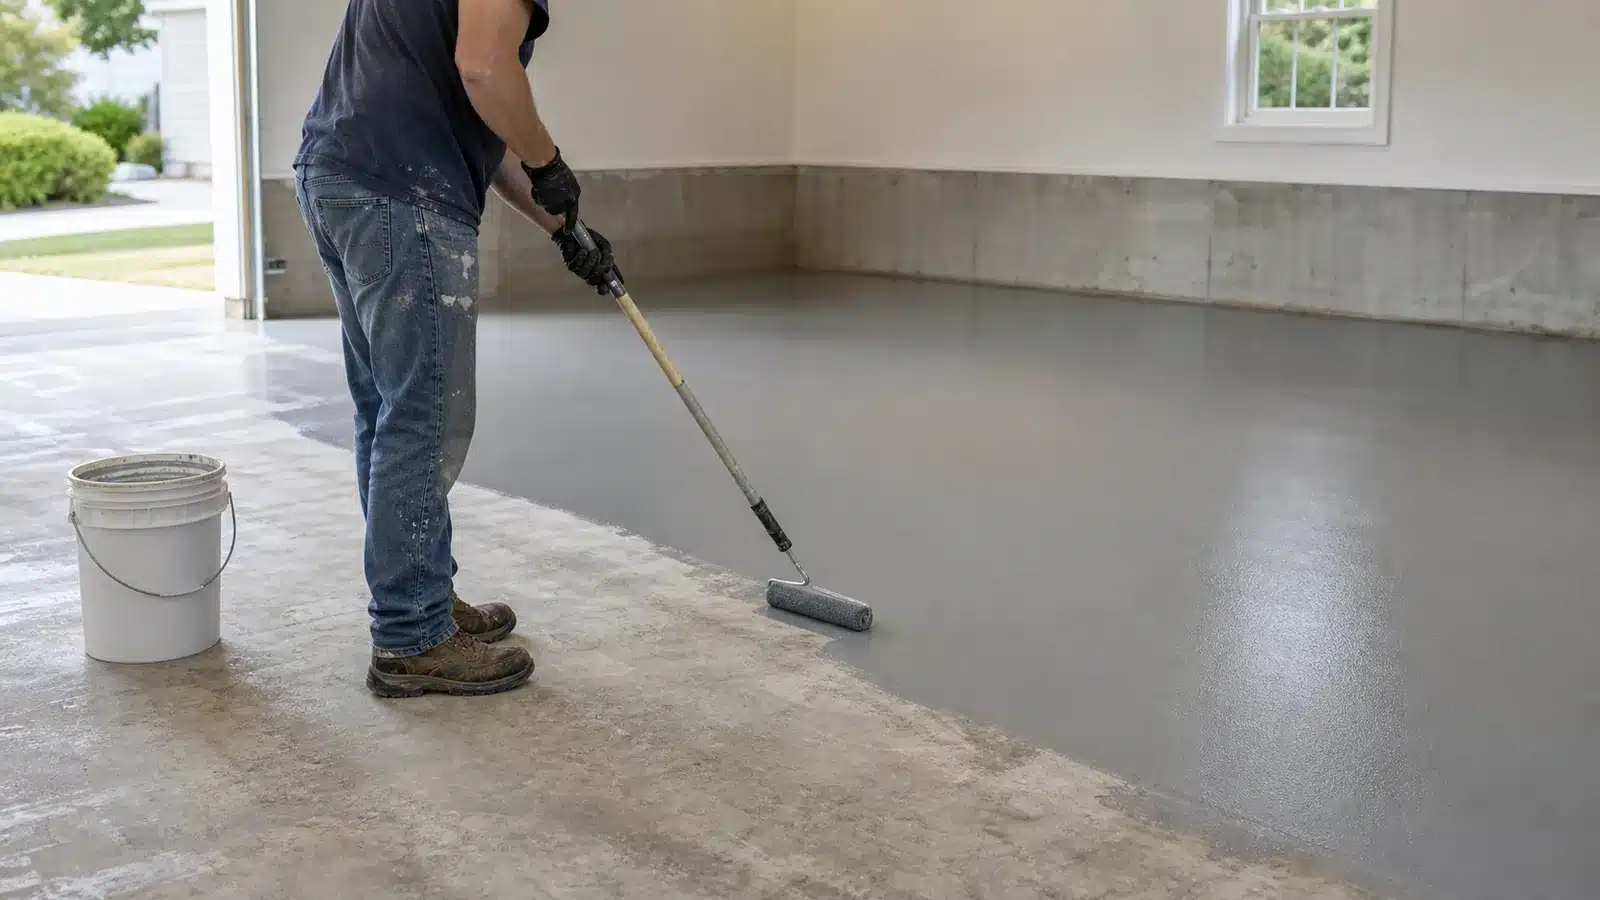
The word epoxy is often used for an entire garage-floor system. The exposed layer may actually be epoxy, polyurethane, polyaspartic or another topcoat, and it may be smooth or heavily textured. Identify that exposed finish when possible, then follow its care instructions before using a stronger cleaner.
Quick answer: To clean an epoxy garage floor, remove grit while the floor is dry, choose the mildest cleaner supported by the exposed coating, work in manageable sections, agitate with a nonabrasive tool, pick up the dirty solution and rinse when the product or coating instructions require it. Let a test area dry before deciding that a mark needs stronger chemistry.
If you do not know who installed the floor, begin conservatively. Vacuum or sweep, try clean water on a small section, and move to a properly diluted neutral cleaner only if water leaves soil behind. Spot-test unfamiliar products in a hidden area. A more aggressive cleaner is not automatically a better cleaner for an epoxy garage floor—especially when the real problem is leftover detergent, permanent tire staining or damage to the topcoat.
First identify what you are cleaning
Look at the invoice, leftover product containers, installer warranty or coating data sheet. A decorative garage floor may have an epoxy base coat covered by a clear polyaspartic or polyurethane topcoat. Maintenance should follow the layer you can touch, not merely the product family underneath it. If you are still deciding whether to coat bare concrete, first compare the trade-offs of sealing and coating a garage floor.
Smooth or lightly textured
Usually easiest to mop. It can also show scratches, streaks and dried cleaner film more readily. A microfiber mop and clean-water pickup may be enough for routine soil.
Full-broadcast flake
Texture can trap fine soil. A compatible soft or medium nylon deck brush and wet pickup can reach low areas that a flat mop passes over.
Unknown coating
Start small and mild. Photograph the surface and any installer label, test a hidden area, and stop if the finish softens, dulls, changes color or becomes tacky.
What to use for routine cleaning
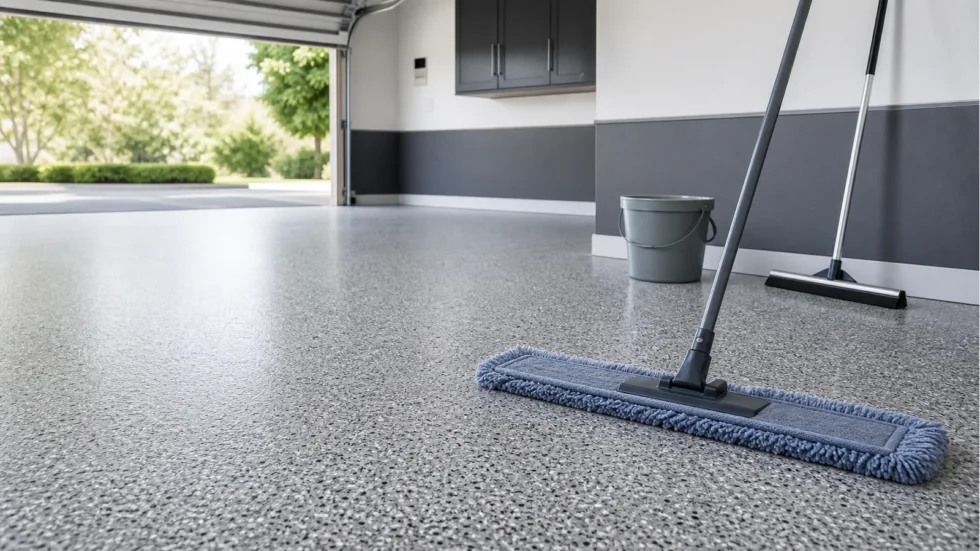
A practical kit is simple: a vacuum or soft broom for dry grit, a microfiber mop for smoother floors, a soft or medium nylon deck brush for texture, two buckets or a clean-water source, and a floor squeegee or wet/dry vacuum for nonflammable cleaning water. Use any wet/dry vacuum only as its manufacturer permits. Never use an ordinary wet/dry vacuum on gasoline, solvents, fuel or other flammable or combustible liquids, or where their vapors may be present. Avoid steel wool, metal scrapers and aggressive abrasive pads unless the coating maker explicitly calls for a particular surface-preparation step.
For the cleaning solution, use this order:
- Plain water: often enough for dust, light road film and a routine rinse.
- Properly diluted neutral cleaner: a sensible next step for general soil when the coating instructions permit it.
- Compatible degreaser: reserve it for oil, grease or rubber soil, and follow both the coating guidance and the exact product label.
- Specialty remover: use only for the named contaminant and only after confirming the exposed finish can tolerate it.
Sherwin-Williams' resin-floor maintenance guidance separates neutral cleaners used for ordinary foot traffic from degreasers used in vehicular or service areas. Its general workflow is sweep, apply, agitate, allow the stated dwell time and remove the dirty solution. That is more dependable than choosing one bottle for every mess.
How to clean an epoxy garage floor step by step
Clear the floor and plan where the water will go
Remove vehicles, cardboard, mats and movable storage. Keep cleaning water away from drywall, wood, outlets and stored chemicals. Follow local rules for oily wash water; do not send petroleum-contaminated runoff into a storm drain.
Remove grit while the floor is dry
Vacuum or sweep sand, road grit, salt crystals and loose debris before adding water. This prevents a mop or brush from turning abrasive particles into a grinding slurry. Use a crevice tool along control joints, edges and the base of cabinets.
Absorb fresh spills before washing
Blot or contain oil and automotive fluids with an appropriate absorbent. Work from the outside toward the center so the spill does not spread. Bag and dispose of contaminated absorbent according to the product and local waste instructions.
Mix only what the label calls for
Measure the cleaner and water. A stronger-than-labeled mix can leave more residue and may exceed the coating's chemical limits. Do not mix cleaners, and do not add bleach, ammonia, solvent or acid to another product.
Test a hidden section
Apply the complete cleaning and rinse process to a small area near a cabinet or wall. Let it dry. Check color, gloss, texture and tackiness under the same light used to inspect the rest of the floor.
Work in manageable sections
Apply enough solution to wet the surface without flooding wall edges or joints. Agitate with the compatible mop or nylon brush. Observe the product's dwell time, but do not allow cleaner to dry on the floor.
Pick up dirty solution
Use a floor squeegee or, for nonflammable cleaning water, a wet/dry vacuum whose manual permits the use. Never vacuum flammable or combustible liquids or use an ordinary wet/dry vacuum where their vapors may be present. On a textured floor, make a second pass across the first direction so low spots release their soil.
Rinse when required
Use clean water and fresh pickup equipment. Several coating manufacturers require rinsing even when a cleaner is marketed for low residue. A no-rinse claim on one bottle does not override the care instructions for the installed coating.
Dry and inspect before escalating
Ventilate the garage and keep vehicles off the wet floor. Judge haze, gloss and remaining marks only after the test area is dry. Repeating a mild process is usually safer than jumping immediately to a harsh chemical.
Match the cleaner and method to the mess
| Mess | Start with | Escalate only when | Main caution |
|---|---|---|---|
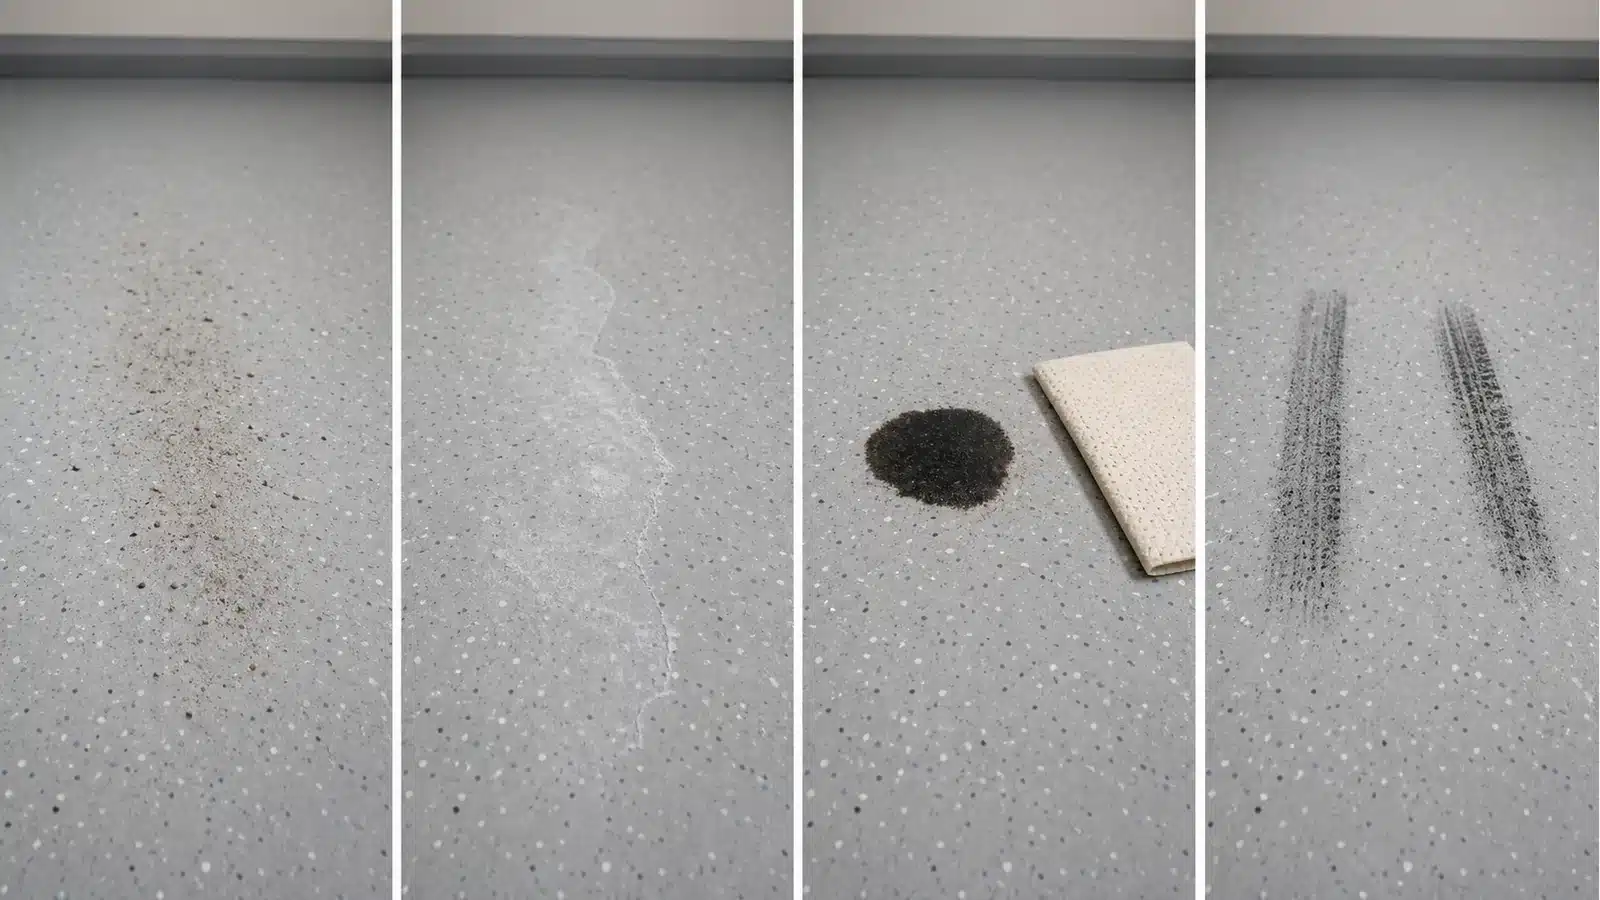
| Dust and grit | Vacuum or soft broom; water only if film remains. | Damp wiping still shows bonded soil. | Dragging grit can scratch a glossy finish. |
| Mud and road salt | Let mud dry, remove solids, then use clean water and pickup. | A pale mineral film remains after a clean-water pass. | Dirty rinse water and excess detergent can create new haze. |
| Oil and grease | Absorb the liquid, then use a coating-approved degreaser. | The exact product and topcoat instructions permit the next method. | Do not spread oil with the routine mop or discharge oily water outside. |
| Tire marks | Compatible mild cleaner and soft nylon agitation. | The coating maker supports a tire-mark product or spot method. | Some rubber or plasticizer discoloration is staining, not removable surface dirt. |
| Paint or adhesive | Identify the material while it is fresh and consult the coating instructions. | A named remover is supported for both the spill and exposed finish. | A guessed solvent can soften, dull or discolor the coating. |
| Unknown chemical | Keep people away, identify the container and use its spill guidance. | The product maker, coating maker or a qualified professional gives a compatible method. | Do not mix an unknown residue with another cleaner. |
Dust, sand and ordinary road film
Dry removal does most of the work. Vacuum first, including expansion joints and corners, then use clean water or the approved routine dilution. Change the pickup water before it turns opaque. A floor that looks clean while wet can dry with gray streaks when the same dirty solution is spread over the whole garage.
Road salt and white mineral haze
Remove loose crystals dry. Use repeated clean-water application and pickup before adding more detergent. If the film remains, compare the symptom with the coating maker's care guide because mineral deposits, cleaner residue, moisture whitening and a changed topcoat can look similar. Do not assume an acid is appropriate merely because the deposit is pale.
Oil and automotive fluids
Act promptly only when the spill is small, identified and safe to handle under its current label or safety data sheet. Contain and absorb the liquid with the stated protective equipment, then clean the remaining film with a degreaser that the coating guidance permits. Brake fluid, gasoline, battery electrolyte, solvents and other automotive chemicals are not interchangeable spills. Never use an ordinary wet/dry vacuum on these liquids. Follow the container’s safety, ventilation and disposal instructions, and contact the installer when the finish has softened or changed color.
Tire marks and rubber transfer
Begin with a small area, a compatible cleaner and a soft nylon brush. Rinse or pick up the residue and let the spot dry. If the dark mark remains unchanged, stop scrubbing harder. Hot-tire transfer can include rubber residue, but some discoloration involves migration into or damage to the finish. That condition may require coating-specific treatment or repair rather than more abrasion.
Paint, adhesive and unknown residue
Identify the spill before reaching for a solvent. The remover that dissolves adhesive or paint can also dull or soften a resin topcoat. If you cannot identify the coating and contaminant, preserve the label or photograph, isolate the area and ask the coating installer or product manufacturer for a compatible spot procedure.
Smooth and textured floors need different pickup
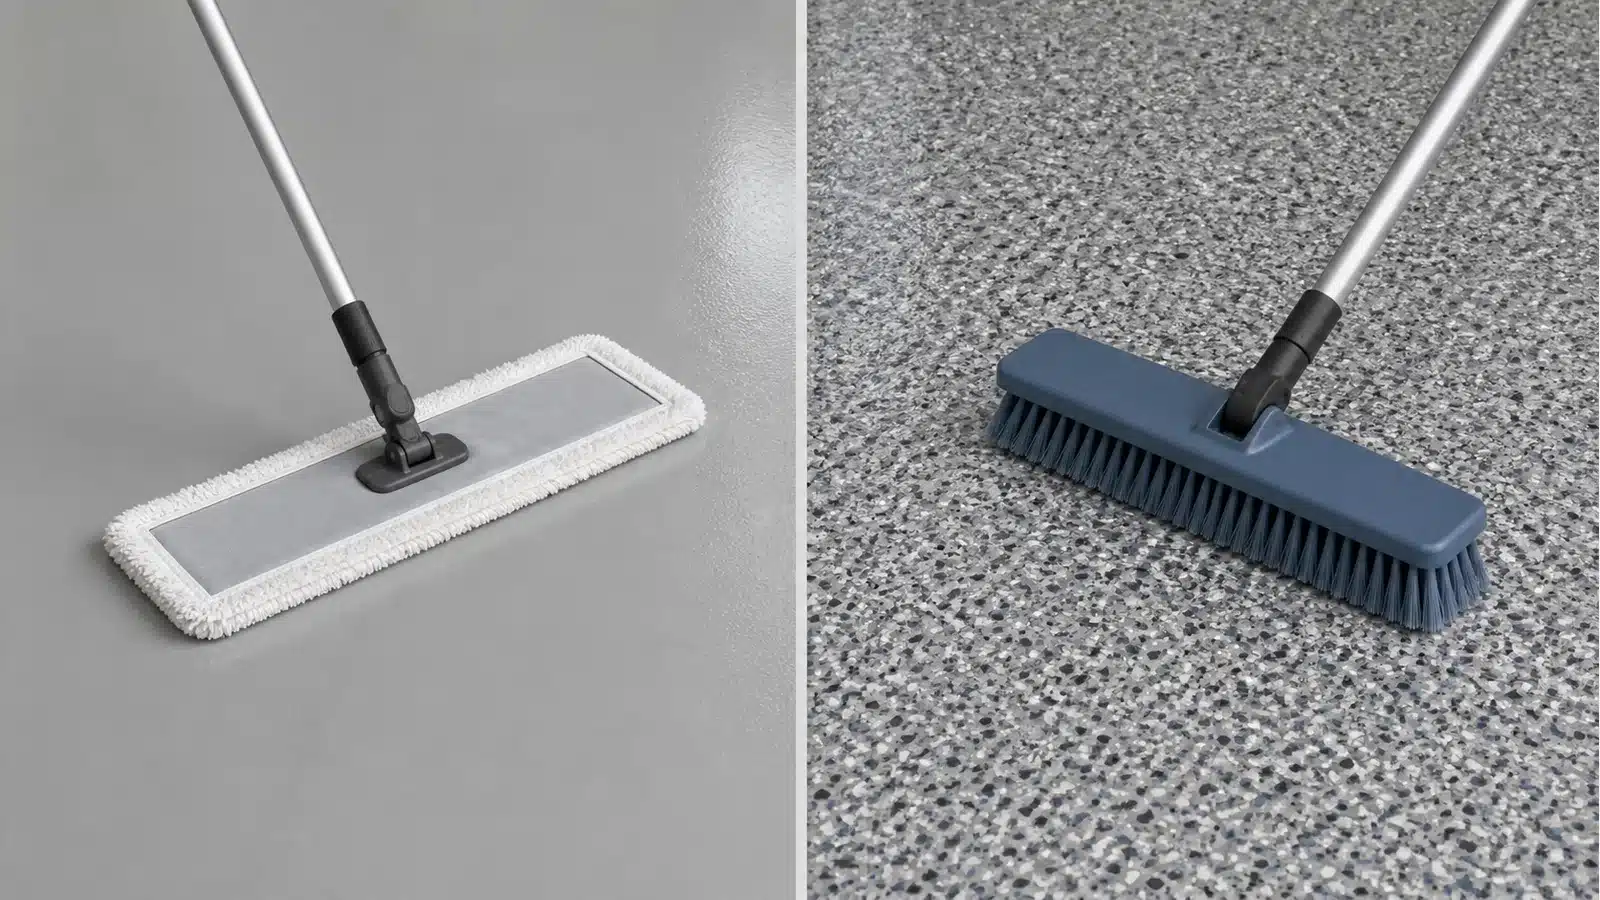
On a smoother floor, overlap microfiber passes and keep the pad clean. Replace or rinse the pad when it begins leaving tracks. A squeegee or, for nonflammable cleaning water, a wet/dry vacuum used according to its manual helps prevent cleaner from drying at the garage-door edge.
On a coarse full-broadcast finish, a flat mop may glide across the high points while dirty water remains in the texture. Use a soft or medium nylon deck brush if the coating maker permits it, scrub in two directions and extract the water. Avoid automatically choosing stiff bristles: a brush that is appropriate for bare concrete may be unnecessarily aggressive on a clear topcoat.
Why an epoxy floor looks hazy or sticky after cleaning
Haze and tackiness do not always mean the floor needs more detergent. Common causes include too much cleaner, incomplete pickup, dirty rinse water, cleaner drying before removal or residue from a product that does not suit the coating. A newly installed floor can also have a cure or surface problem unrelated to routine cleaning.
- Stop adding product. Choose a small test lane beside the affected area.
- Use clean water and clean equipment. Lightly agitate and remove the water completely.
- Let the lane dry. Compare gloss, feel and footprints with the untreated area.
- Escalate only with support. If the finish remains soft, tacky, cloudy or discolored, contact the installer or coating maker before applying another chemical.
Pressure washers, steam and stronger chemicals
Check the coating maker before escalating beyond ordinary washing. A pressure or temperature limit published for one flooring system is not a universal target.
- Pressure or steamUse only an approved tip, pressure, distance and water temperature. Narrow jets, heat and poor drainage can damage edges or a weakened finish.
- Acidic, alkaline or citrus cleanersFollow both the cleaner label and the coating guidance; never invent a dilution or dwell time.
- Bleach or ammoniaNever mix either with another cleaner. Use one only when both sets of instructions support it.
- Solvents, abrasive pads or powdersThese can soften the finish or permanently change its sheen and texture.
When cleaning will not fix the floor
Stop treating the symptom as ordinary dirt when you find:
- soft, rubbery or persistently tacky coating;
- peeling, blistering or delamination;
- flakes or colored material transferring to a cloth;
- deep scratches, gouges or worn-through traffic paths;
- white or cloudy areas that return with moisture;
- tire-area discoloration that does not respond to the supported spot procedure;
- damage associated with an unknown chemical spill.
Photograph the condition under even light, note what was spilled or used for cleaning, and contact the installer or coating manufacturer. If moisture, drainage or slab movement is involved, test the garage floor for moisture and address the source below or beside the coating before repairing the finish.
A practical tool kit for coated garage floors
Dry-soil tools
A soft broom, dust mop or vacuum with floor and crevice tools lifts grit without dragging it across the finish.
Agitation tools
Use clean microfiber on smooth floors and a coating-compatible nylon brush on texture. Keep both away from oily shop tools.
Pickup tools
A floor squeegee, clean buckets, absorbent pads or a wet/dry vacuum suitable for the cleaning water keeps dirty solution from drying back onto the floor.
If cleaning is one part of a larger project, use the Garage Storage, Floor & Wall Guides to sequence moisture correction, repair, finishing and storage.
How often should you clean the floor?
Clean for the garage's actual exposure: remove grit before traffic grinds it in, absorb automotive spills promptly and rinse winter salt before it builds up. Inspect the door line, tire paths, workbench and stored containers, and keep a dedicated clean mop or brush for the coated floor.
Frequently asked questions
Can I use Simple Green on an epoxy garage floor?
Simple Green publishes an epoxy-floor procedure for Oxy Solve Concrete and Driveway Cleaner. Follow that product's directions and rinse procedure only after confirming the exposed coating permits it; other Simple Green formulas may differ.
How do I remove tire marks from an epoxy floor?
Test a compatible mild cleaner with soft nylon agitation, pick up the residue and let the area dry. Escalate only to a method supported by the coating maker; an unchanged mark may be staining or coating damage rather than surface rubber.
What if I do not know which coating is on the floor?
Look for an invoice, installer record, leftover container or warranty. Until the topcoat is identified, start with dry removal and a small clean-water test. Stop if an unfamiliar cleaner changes color, gloss, texture or hardness.
How this guide was verified
GarageResults compared current coating-care guidance with exact cleaner directions. Because floor systems differ, system-specific limits remain attributed rather than being presented as universal rules.
- Sherwin-Williams resin-flooring maintenance and cleaning recommendations
- Sherwin-Williams epoxy-flooring care overview
- Everlast Floor current cleaning procedures for its system-specific rinse, tool, temperature and pressure-washing instructions
- Simple Green epoxy-surface cleaning procedure for its named Oxy Solve product and rinse steps