Start with the location of the gap
Which seal actually needs attention?
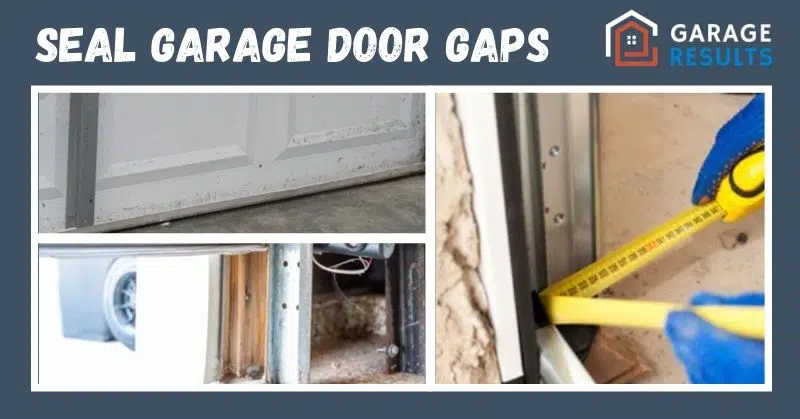
The top and sides seal against the door opening. The bottom seal attaches to the moving door. A floor threshold is a separate option for an uneven slab or low-level water entry.
Quick answer: Close the door and identify whether the opening is at the perimeter, under the door, or between the floor and bottom seal. Replace only the matching weatherseal, then run the door through a full cycle to confirm that it moves freely. If the door is crooked, unbalanced, damaged, or rubbing hard against the opening, correct the door problem before trying to hide it with a thicker seal.
Inspect the gap before buying anything
Check with the door closed
During daylight, look from inside for visible light. At night, a helper can move a flashlight around the outside perimeter while you stay clear of the door. Do not place fingers in joints or between the door and track.
Look for a door problem
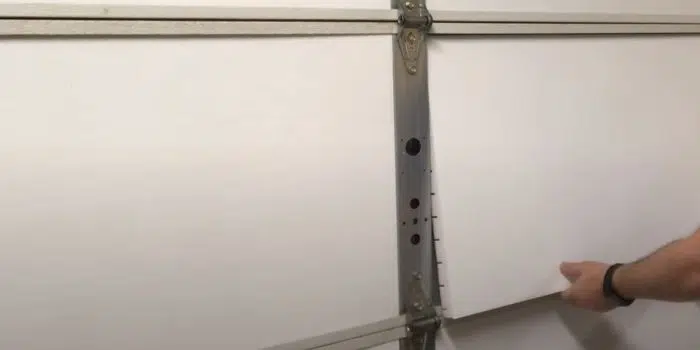
Compare the gaps on both sides. A door that sits noticeably lower on one corner, binds, has damaged sections, or will not stay in position when disconnected needs professional attention rather than extra weatherstrip.
Photograph the old profile
For a bottom seal, take clear photos of the end of the retainer and the seal’s bead, T, bulb, or U-shaped profile. Measure the door width and the profile before ordering; “universal” does not mean every retainer.
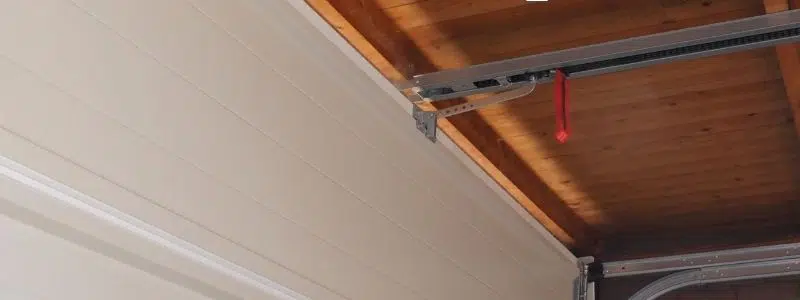
How to seal the top and sides
Most sectional garage doors close against flexible vinyl or rubber attached to stop molding around the outside of the opening. The flexible flap should touch the door face without folding sharply or holding the door away from its normal closed position.
Measure all three runs
Measure each side and the top separately. Check the manufacturer’s sizing and installation instructions, and allow only the extra length they recommend for trimming.
Remove the old stop carefully
With the door closed and controls disabled, remove the fasteners holding the old perimeter molding. Clean away loose caulk, dirt, and protruding fasteners without damaging the jamb.
Cut and position the new pieces
Cut with the tool specified for the product. Place the side pieces first, then the top, or follow the manufacturer’s stated sequence. Keep the flexible flap in even contact with the door.
Fasten to sound framing
Use the fastener type and spacing specified by the seal manufacturer. Do not nail or screw into the moving door, track, cable, or other operating hardware.
Test the full travel
Restore the opener, stand clear, and run a complete open-and-close cycle. The seal should stay in contact when closed without snagging, bowing, or causing the opener to reverse.
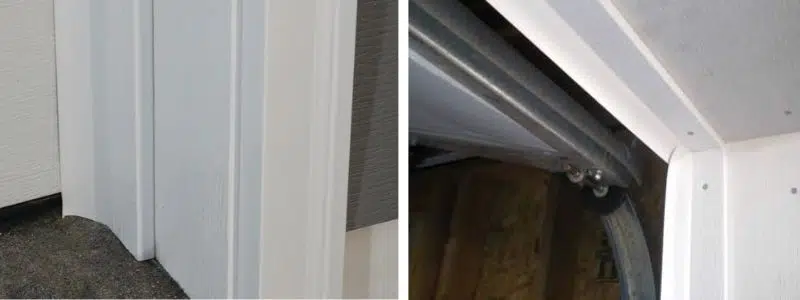
How to replace a garage-door bottom seal
Before ordering, use our garage-door bottom seal compatibility chart and buying guide to match your old insert and retainer.
The bottom weatherseal normally slides into or attaches to a retainer fixed to the bottom section. Retainers and seal profiles vary by door brand and age. Before ordering, inspect the profile at the end of the door, measure the width, and check the door manufacturer’s parts information.
- Disconnect power and secure the work area. Keep people, pets, and vehicles away. Follow the door manufacturer’s instructions for manual operation.
- Open only as directed. Some seals are replaced with the door partly open, but the safe position and procedure depend on the door and retainer.
- Do not disturb bottom hardware. If a bracket, cable, or spring blocks removal, stop. That is technician work.
- Clean the retainer. Remove debris and corrosion that would prevent the new seal from sliding, using only products compatible with the retainer and seal.
- Install the matched profile. Feed it evenly without stretching it. Trim according to the manufacturer’s allowance, then install any specified end stops.
- Close and test. Confirm continuous contact with the floor and complete a full operating cycle. A new seal should not create excessive drag or trigger reversal.
When a floor threshold makes sense
A threshold is bonded to the slab rather than attached to the moving door. It can help a sound bottom seal contact a slightly uneven floor, and some products are shaped to redirect minor surface water. It is not a cure for poor grading, failed drainage, flooding, or a door that closes unevenly. If rain is the problem, use our guide to diagnosing water coming under a garage door before choosing a threshold.
Before installing one, close the door and mark where the inside edge of the bottom seal meets the slab. Dry-fit the threshold in the orientation shown by its manufacturer. Confirm that water will not be trapped inside the garage and that the threshold will not interfere with the door’s safety reversal or travel. Clean and prepare the concrete, use the supplied or specified adhesive, and observe the full cure time before driving over it.
Affiliate disclosure: As an Amazon Associate I earn from qualifying purchases. This does not increase the price you pay. Listings and exact model numbers below were checked July 16, 2026; confirm measurements and manufacturer compatibility before ordering.
Three parts for three different jobs

Randall V-37 dual-vinyl seal
A seven-foot paintable stop-molding section intended for the top or sides of a garage-door opening. Check color, quantity, opening dimensions, jamb material, and installation instructions.
Best for: Replacing worn perimeter stop molding when seven-foot sections fit the opening and the door itself is aligned.
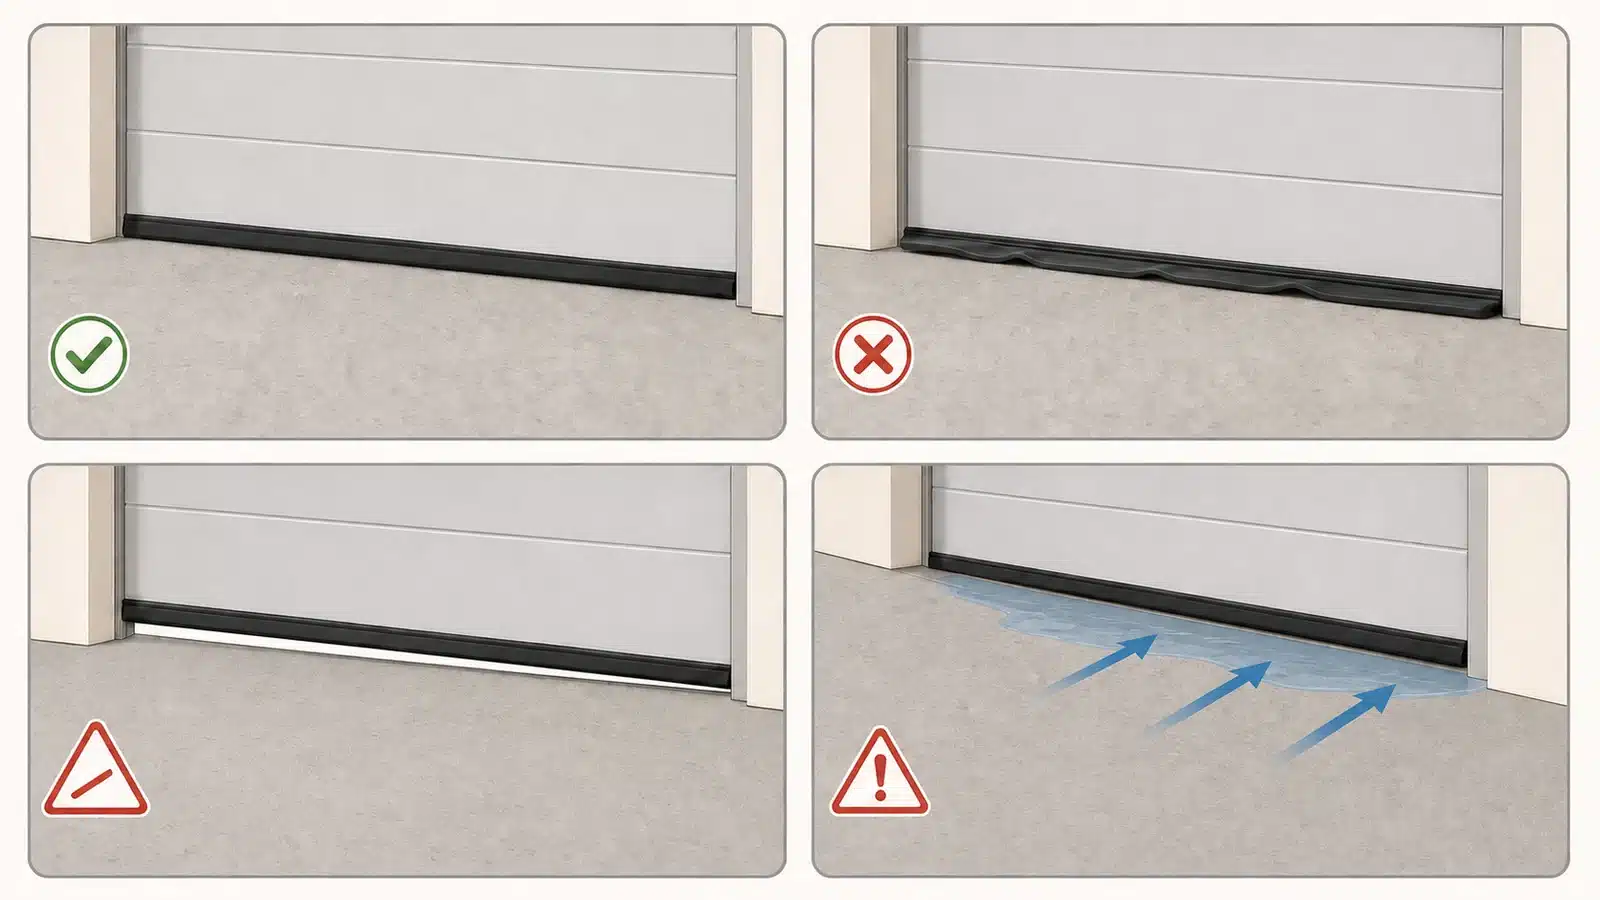
Choose a bottom seal by retainer
Match the old T-end, bead, or P-bulb connection before ordering. Compare replacement inserts and a complete retrofit option in our bottom-seal buying guide.
Best for: Choosing a replacement after confirming whether the old retainer can be reused safely.

Weather Defender 16-foot-5-inch XL kit
A bonded floor threshold kit sold with adhesive. Confirm the listed dimensions, slab condition, door clearance, drainage path, preparation, and cure instructions.
Best for: Minor low-level gaps or surface water at a sound slab after drainage problems have been ruled out.
Video: replacing perimeter weatherseal
This independent video demonstrates a common stop-molding replacement. Use it as an overview, then follow the instructions for your exact door and seal.
Common mistakes
- Buying by door width alone: bottom-retainer profiles differ, even on doors of the same width.
- Using thicker seal to hide a crooked door: it may create drag without solving alignment, cable, or section problems.
- Fastening into operating parts: weatherseal belongs on the jamb, retainer, or slab specified by the manufacturer—not on track, cables, springs, or rollers.
- Stretching a bottom seal: it can shrink back after installation and leave the corners exposed.
- Blocking water inside: a floor threshold can worsen a drainage problem if water already enters from walls or the slab.
- Skipping the travel test: every repair should finish with a complete cycle and a check of the opener’s safety features according to its manual.
Garage-door gap FAQ
Should I see daylight around a closed garage door?
A thin line at a flexible seal can indicate worn or poorly positioned weatherstrip. A large, tapered, or one-sided opening may indicate alignment, track, cable, floor, or section problems. Inspect the door before adding seal thickness.
Is garage-door bottom seal universal?
No. Products may be marketed as universal, but retainers use different bead, T, bulb, U, and proprietary profiles. Match the end profile and dimensions or use a verified retrofit kit.
Will new weatherseal stop mice and insects?
It can reduce accessible gaps, but no flexible garage-door seal should be promised as pest-proof. Repair holes around the building, remove food and nesting material, and use an appropriate pest-control plan.
Will sealing the door lower energy bills?
Weatherseal can reduce drafts and water entry at the opening. The actual energy effect depends on the garage’s construction, insulation, connection to conditioned space, climate, and how often the door opens. Avoid treating a garage-door seal as a guaranteed savings product.
When should I call a professional?
Call one when the door is crooked, heavy, unbalanced, off-track, damaged, repeatedly reverses, or requires work near springs, cables, bottom brackets, or spring anchors. Those are door-system issues, not ordinary weatherstrip replacement.
How we verified this guide
Safety boundaries, seal selection, and installation cautions were checked against current garage-door industry and manufacturer guidance. Product listings were checked by exact model on July 16, 2026.